The house has been undergoing some changes. The kitchen is finally painted. Thanks to my in-laws for their help on that. The baby room is almost finish. Again thanks to my in-laws.
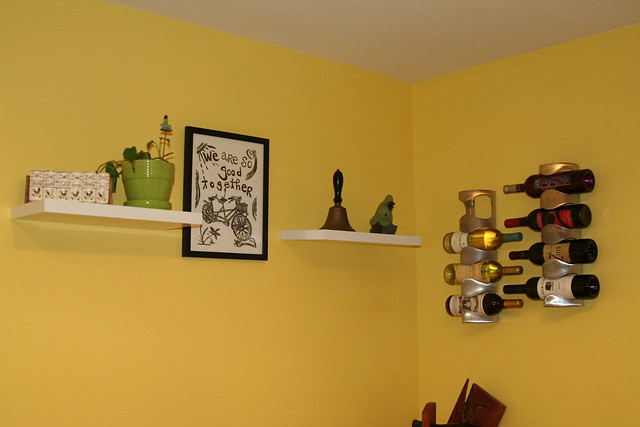
We intended to paint it green. It’s yellow. We dig it.
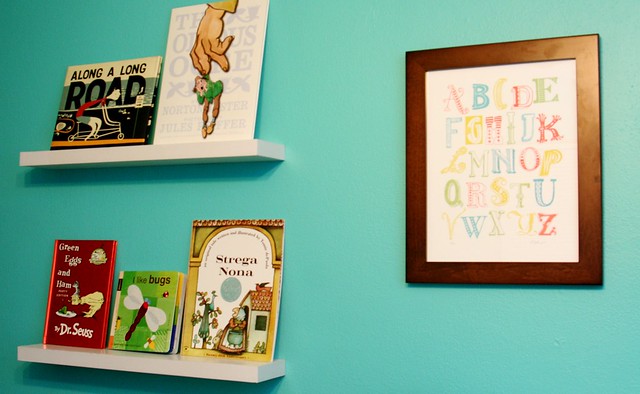
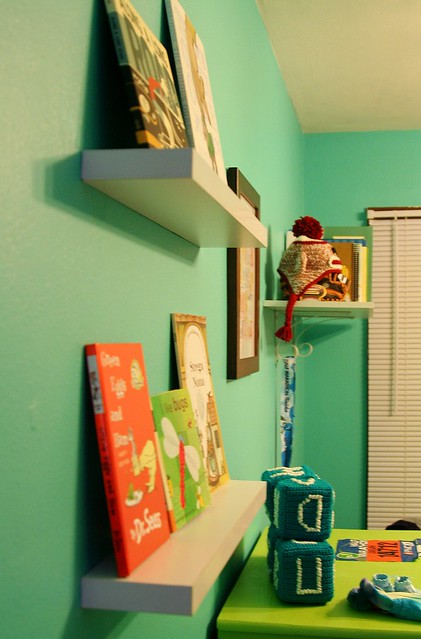
Baby Shoo’s room is almost ready. Today I hung a print and put up shelves.

Someone put up their half-marathon schwag. Something about running 13.1 when you’re 3 months pregnant.
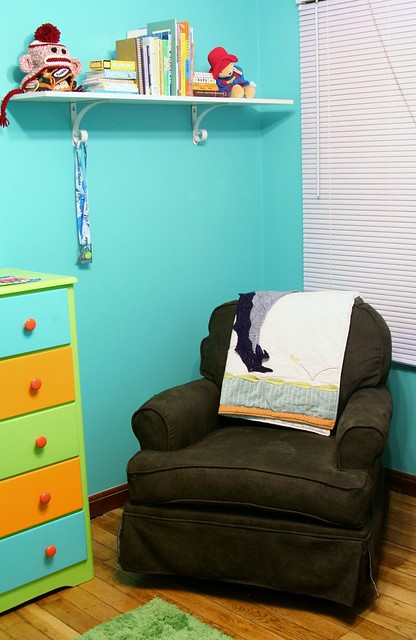
Kid is even going to have his own comfy chair.
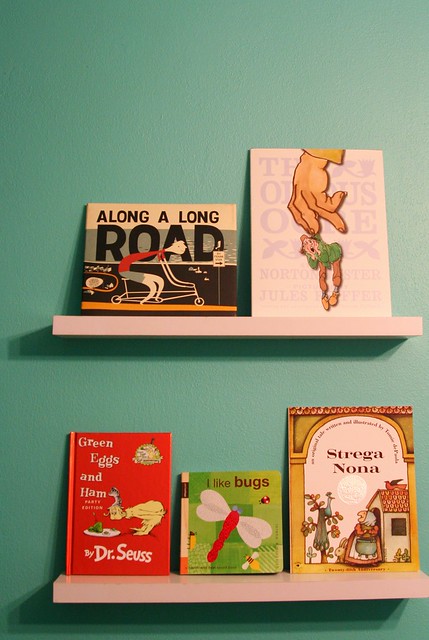
Would you guess that I’m married to an English teacher?

We’ve never been this organized this much before.
Comments
7 responses to “DIY House”
That dresser looks great. And you’re a saint for hanging floating shelves. I suck at that, and typically throw at least two temper tantrums per shelf.
How are those hard? (Not being a smart ass about it… just wondering).
It takes patience and a steady hand. I really didn’t want to do them for the kid’s room, but the Mrs. talked me into it. What’s it they say? Measure a bunch of times… make it fit.. hit it harder if it doesn’t?
It looks amazing! You guys did a great job and I can’t wait to see the little Bug all snug in his room!
Looks good, great to see the house coming together for the arrival of the bug.
You will love having the chair in the baby’s room. Makes night feedings SO MUCH BETTER. Everything looks great!
And, I’m sorry to say, once Baby Shoo steps into this world, You will never be organized that much ever again. But it will be a blissful chaos…